Tessellation
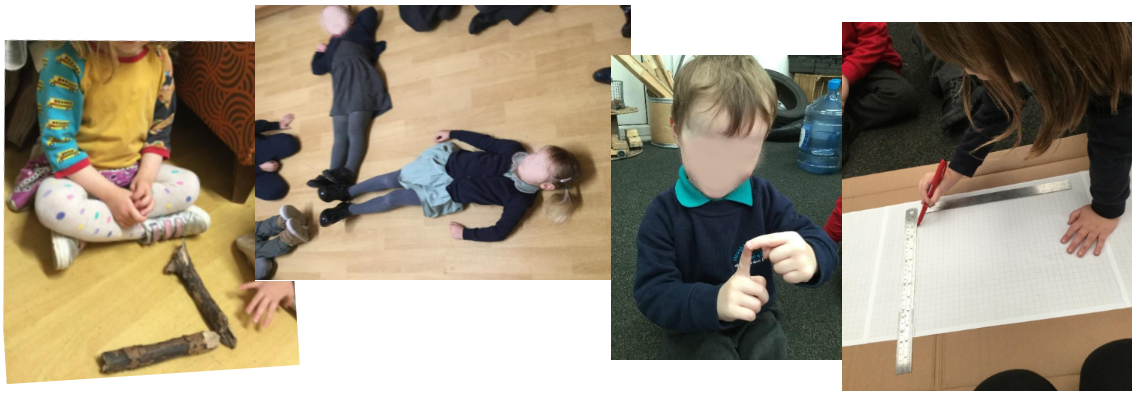
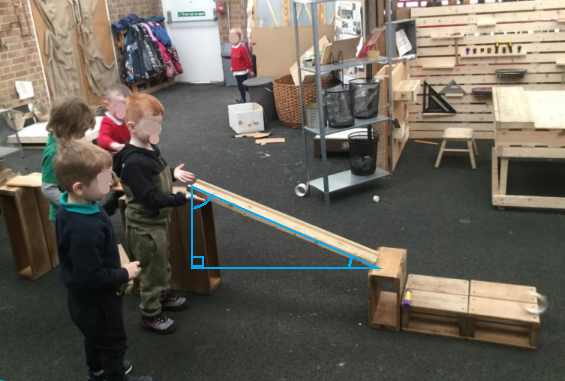
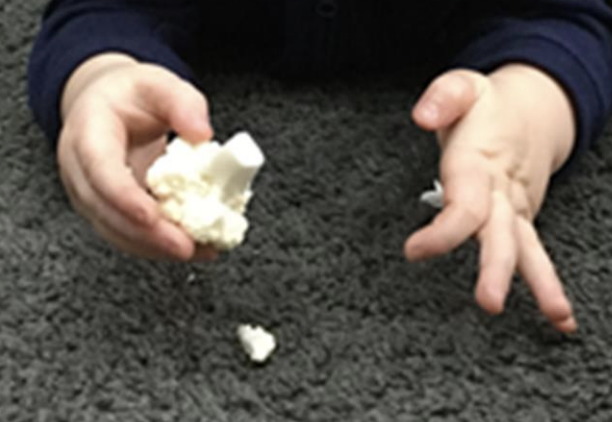
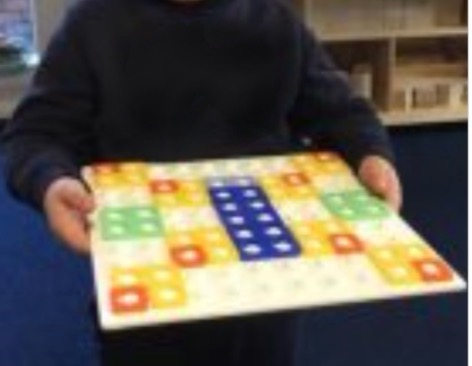
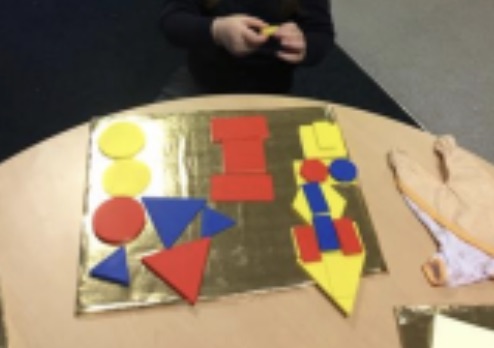
In the image below, we can see a child’s attempt to fill a circle with square tiles. This is an avenue into exploring tessellation. Is there a way that the tiles could be arranged such that there are no empty spaces left?

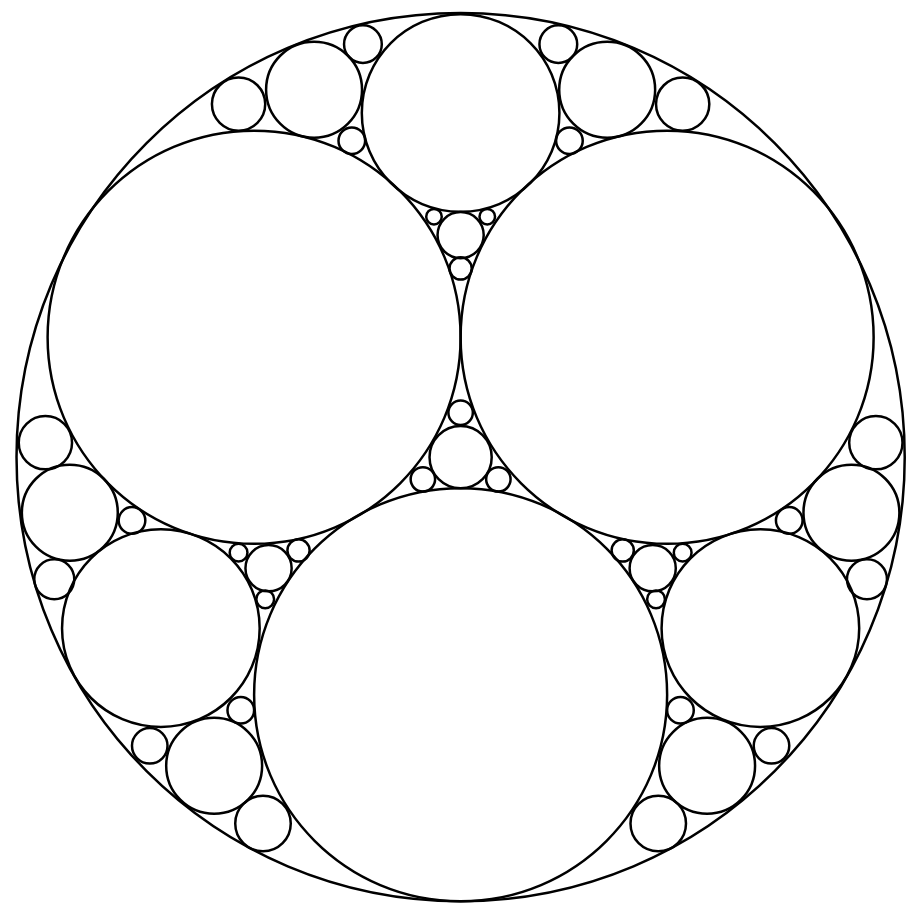
The definition of a tessellation is a space-filling pattern; by this, we mean that all the tiles are flat (not overlapping) and that there are no gaps. For some shapes, such as the circles in the image below, this is not possible.

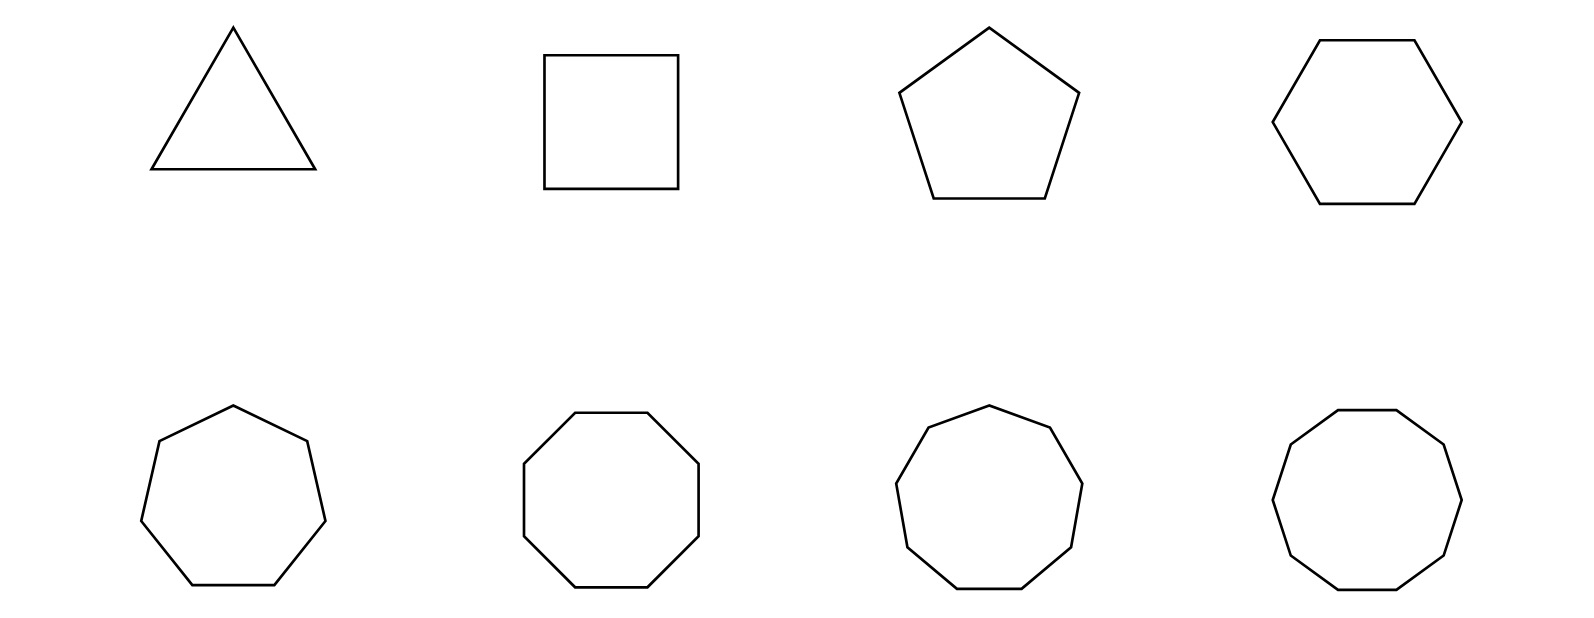
For some polygons, shapes with straight edges, tessellations are possible. In the images below, you can see some tessellations for different types of triangles.

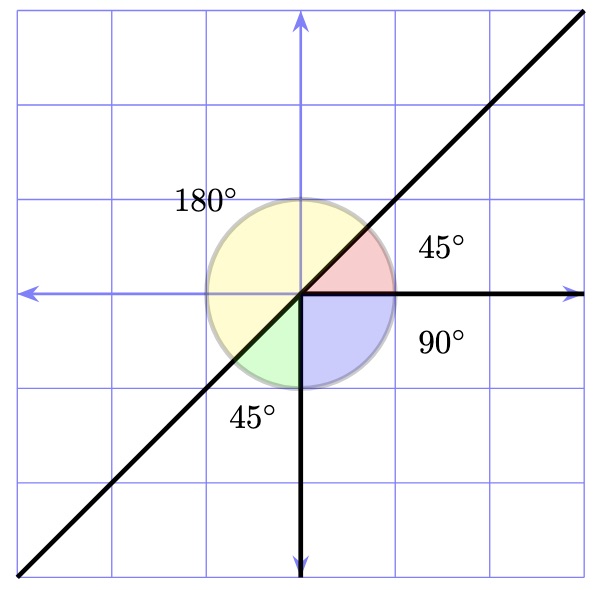
We can also form tessellations from more than one shape. When tessellating, the angles around a given point must sum to \(360^{\circ}\), meaning that they make a full circle as seen in our article about types of angles. An example of a tessellation using both triangles and hexagons is shown in the image below. The hexagons are regular and have internal angles of \(120^{\circ}\). The triangles are equilateral with internal angles of \(60^{\circ}\). When two hexagons and two triangles meet at a point, the sum of their angles is \(120^{\circ}+120^{\circ}+60^{\circ}+60^{\circ} = 360^{\circ}\).

If we coloured some of the hexagons the same colour as the triangles, we can transform this tessellation into a tessellation of stars and hexagons.

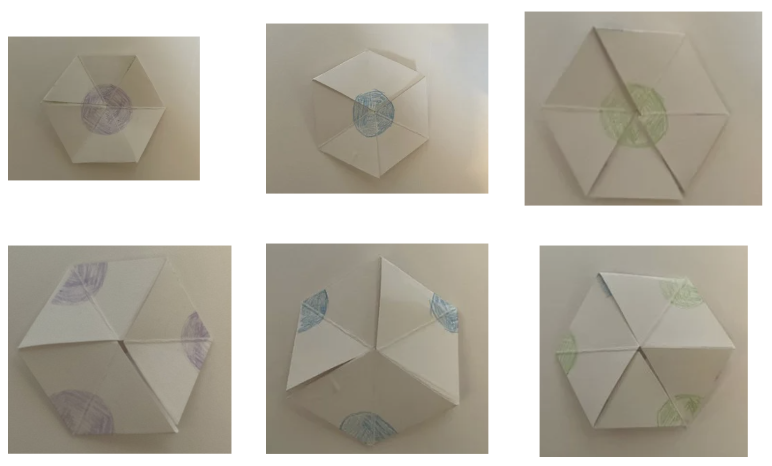
We can also tessellate shapes that are not polygons. M. C. Escher, a Dutch artist, made a lot of work focused on exploring mathematics through art. He made several prints exploring the tessellation of irregular shapes; there are lots of examples of these online. In the image below is a tessellation of an irregular shape inspired by the prints of Escher.

The key to many of Escher’s tilings is that they are modifications of regular polygon tilings. We can see this by overlaying a grid on the tiling (note this may be a grid of any polygon shape). In the image below, we can see a grid of rectangles overlaid on our Escher tiling. When we zoom into one of the rectangular sections, we can see that the pieces cut out from the tiling are the same pieces in the same orientation that are added on to create the irregular shape that is tiled.


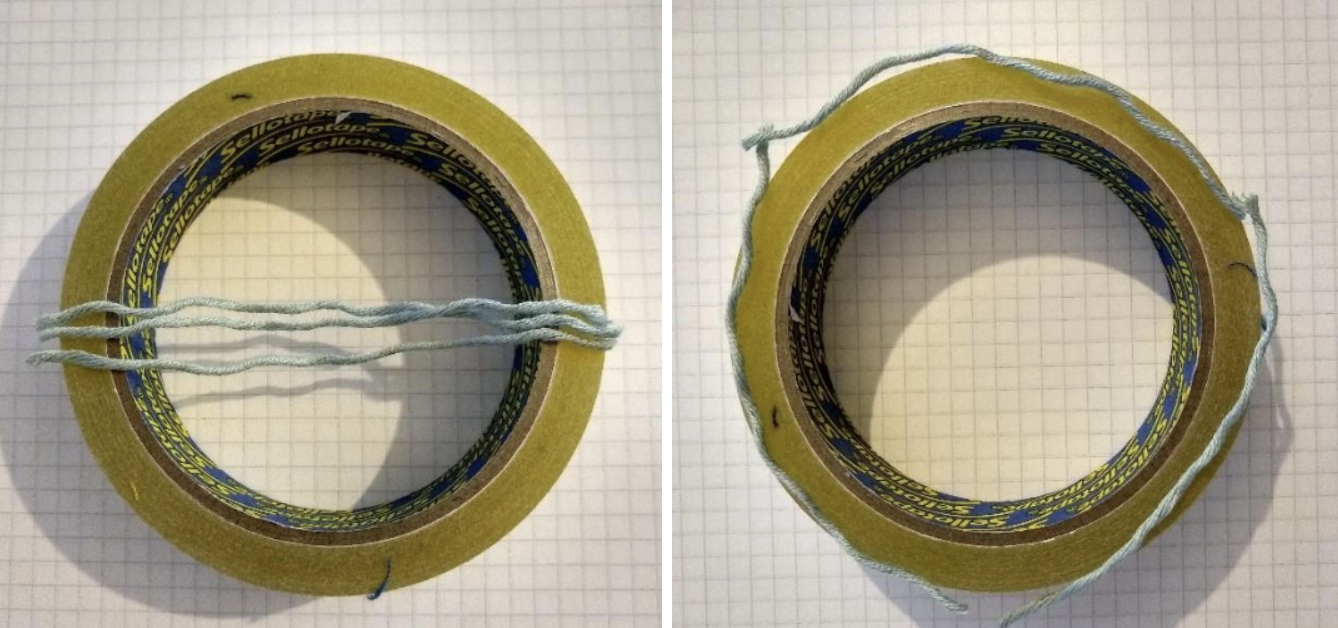
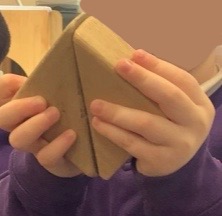
In the images above, we can see how the irregular shape was constructed. We started with a rectangle of paper and then cut out some sections. We then added these sections to the opposite side of the paper, meaning that the shape can fit together with itself like puzzle pieces and tessellate. Children could make their own Escher tessellations by making their own irregular shape stencils using the method shown above.
We have also coloured this example using only three colours using the techniques discussed in our article on the four colour theorem. Escher also made many other artworks exploring mathematical concepts.